You are here
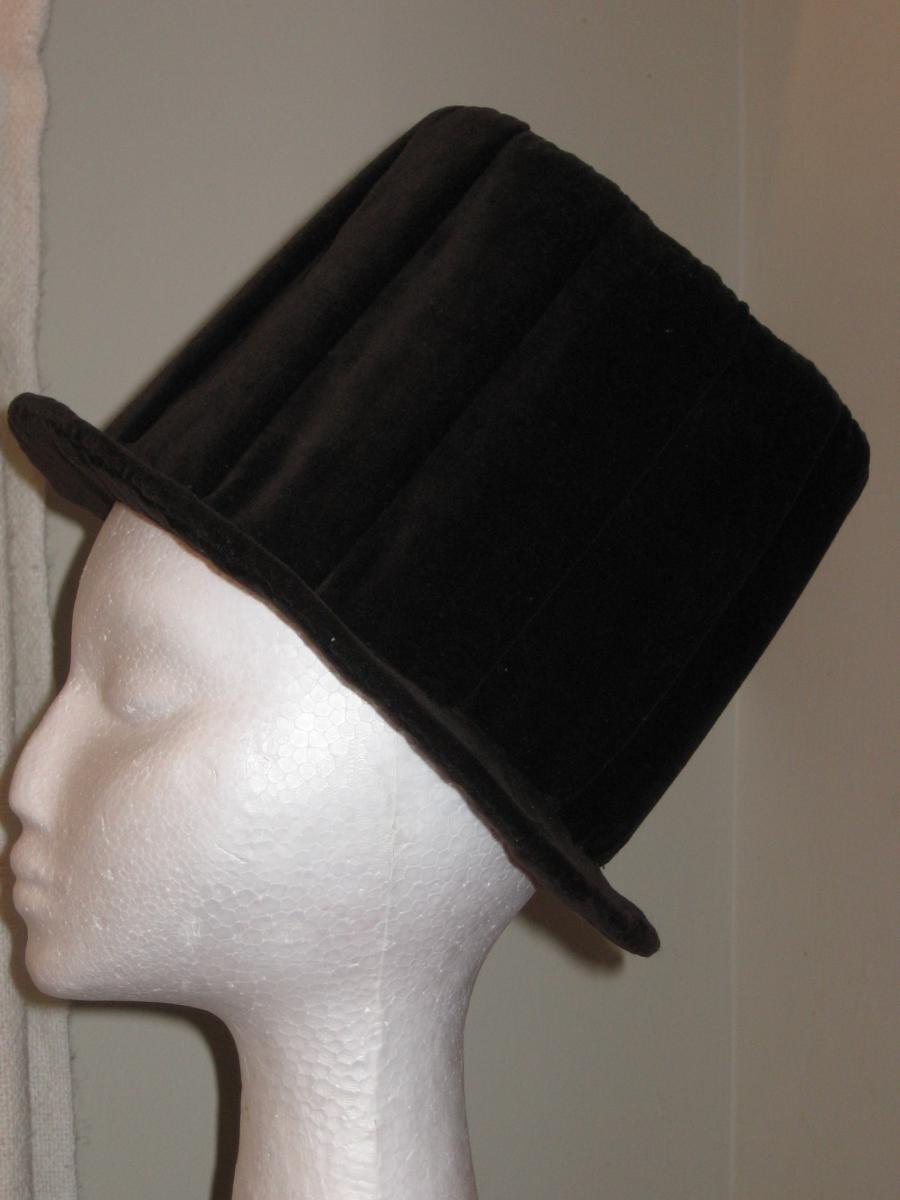
A Tall Hat in Brown Velvet
This was based on my general impression of tall hats from looking at a lot of them, not from any specific image. Pleats seemed to be quite popular so I thought I'd use them in this.
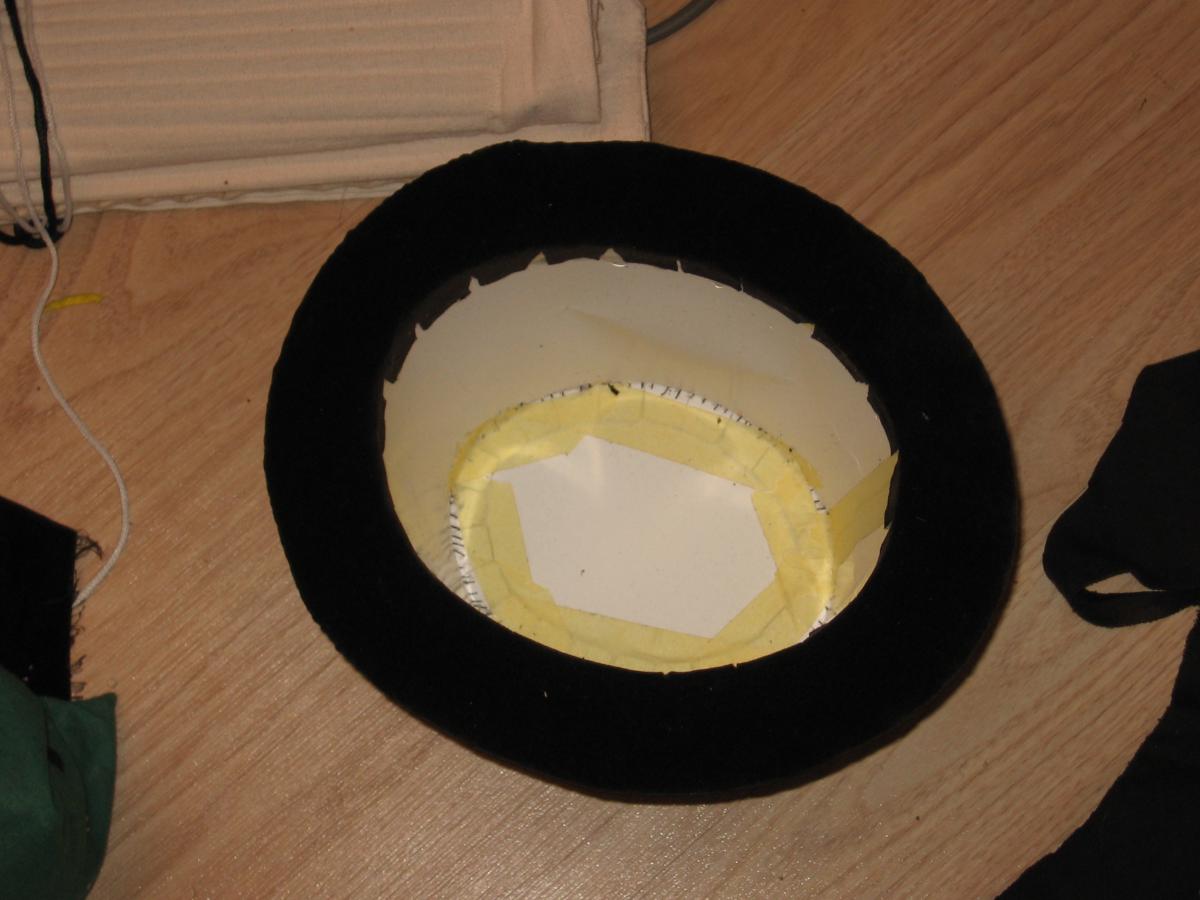
This was another immensely fun hat project, although probably my last using materials from the $2 shop, as next I want to attempt felting. But anyway. Everyone watched in fascinated horror as I gleefully took a holographic silver cardboard hat and removed the tinsel from it. The cardboard base was rather flimsy, and I wanted to soften the overall effect just slightly, so I thought an extra layer of padding would be useful.I also stitched a piece of wire around the edge of the brim as this was a bit soft and I thought might not hold up so well. This was reinforced with masking tape, as was the join between brim and crown. Ever more gleeful at the looks of disbelief, I proceeded to pad it somewhat by using bright yellow stickyback felt also from the $2 shop.
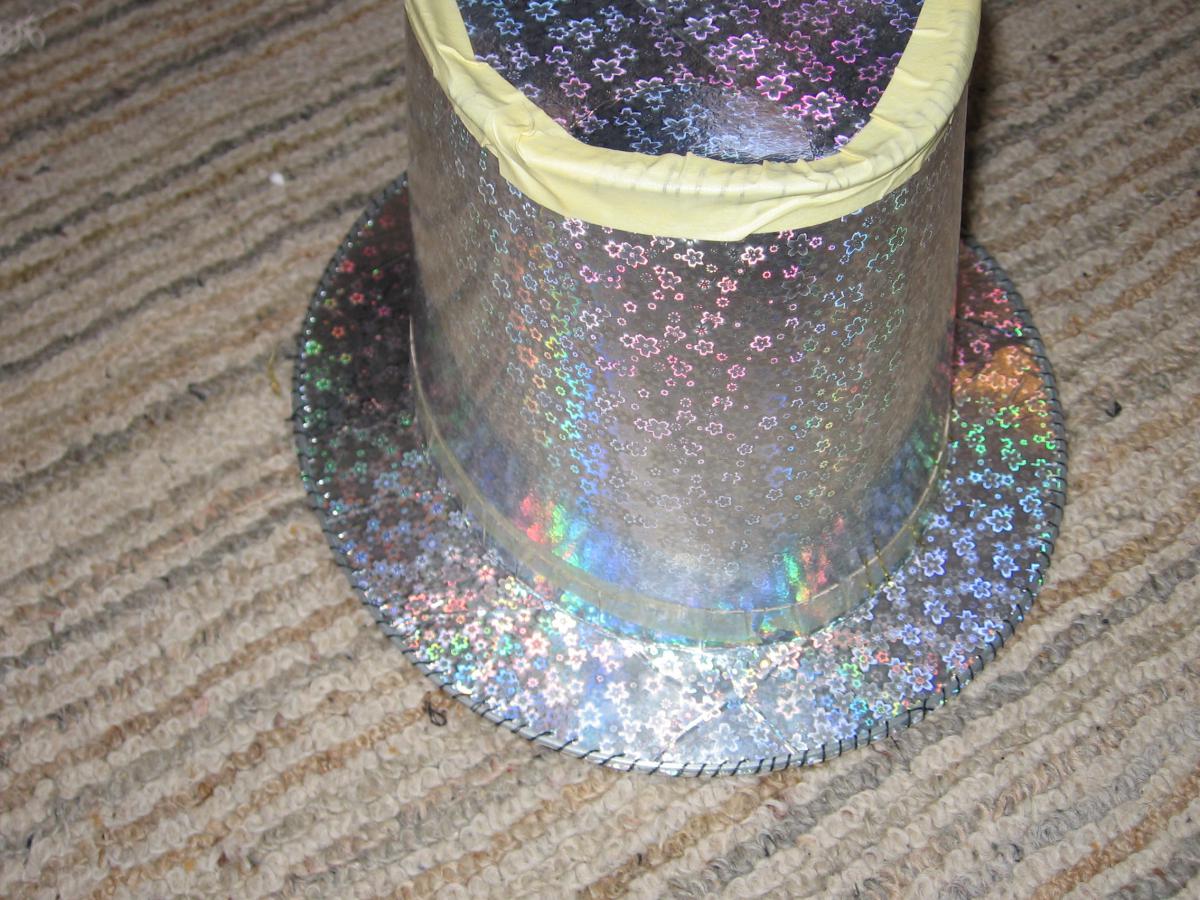

At this point, the brown velvet and craft glue come into the picture. I applied the upper hat band as for the first teeny tiny hat. I then attempted to apply the top fabric, but screwed up with the craft glue and got some down the sides. This was a problem, as I had planned on just using one large circle of brown velvet, secured to the top of the hat, then pleated on to the sides to fit. The craft glue stuck horribly and meant that the fabric I was supposed to be pleating was no longer appropriately pliant. It was here that I decided to sulk at it for six months to a year, and it got cast aside.
Revisiting it some time later, I attempted to remove the extra craft glue, unsuccessfully, using a craft knife and sliding it sideways along the back of the fabric in an appallingly unsafe manner, and also attempting to sand it off. Both of these efforts failed dismally, and I came to the conclusion that if I wanted to finish the hat, I'd have to start over with the velvet.
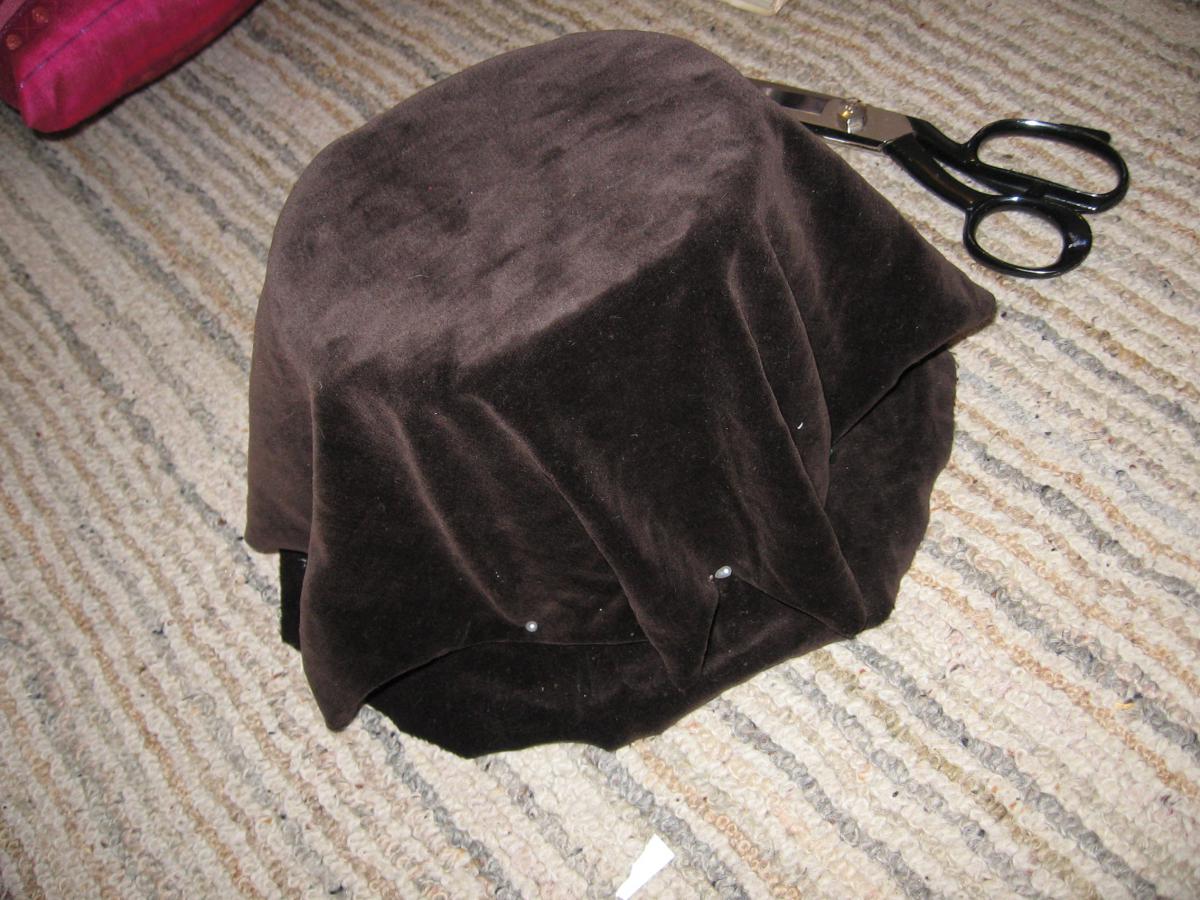
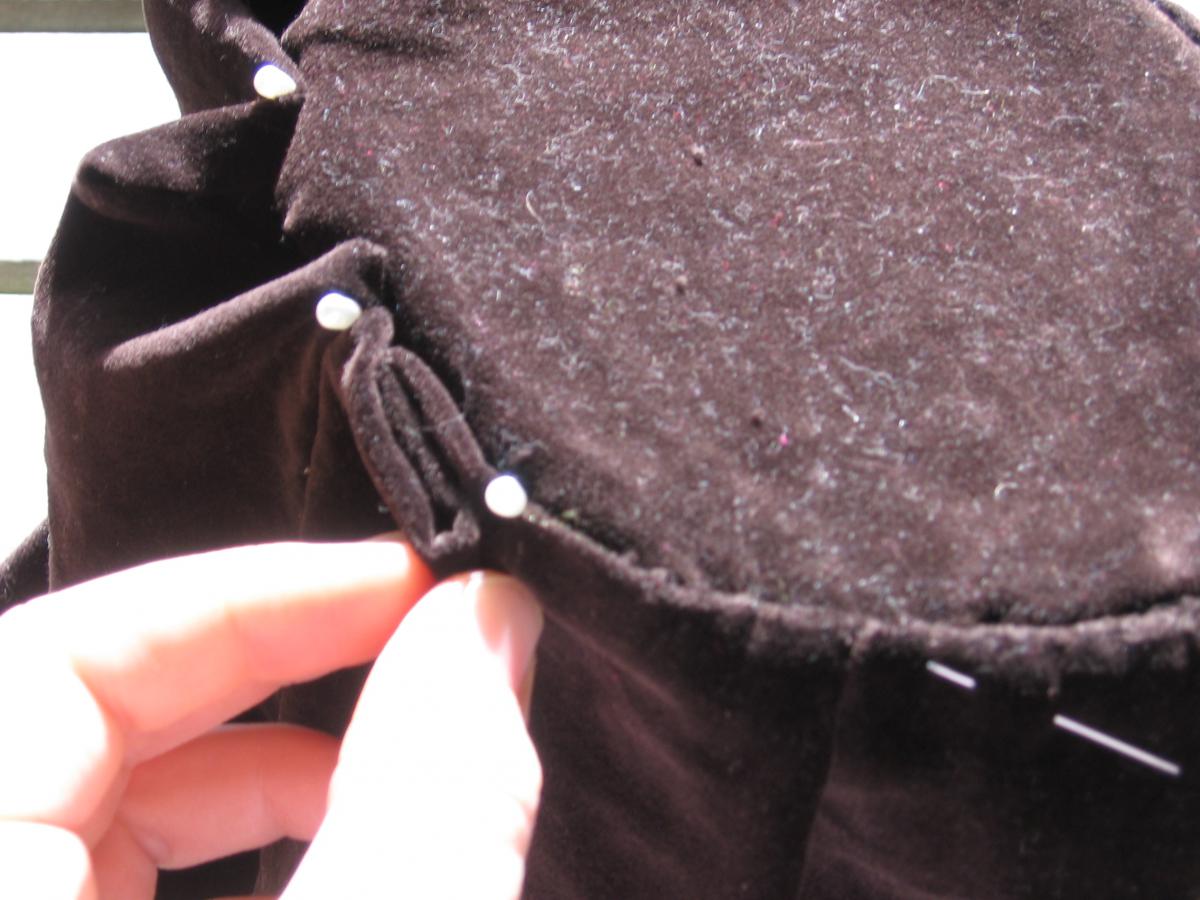
Unfortunately I turned out to have less velvet left than I remembered, so made the executive decision that the crown of the hat would stay put as it was. I trimmed the rest of the velvet back, and then cut a fresh piece of velvet in a long rectangular shape and sewing this along the short edges to join it. I then carefully folded under a seam allowance along the top. I next proceeded to faff around with a lot of pins, and carefully pin this to the edge of the crown into pleats. To make these even, I cunningly started by pinning the centre front and centre back, and midway along the sides, before filling in the rest. I stitched it in place using ladder (teddy bear) stitch.
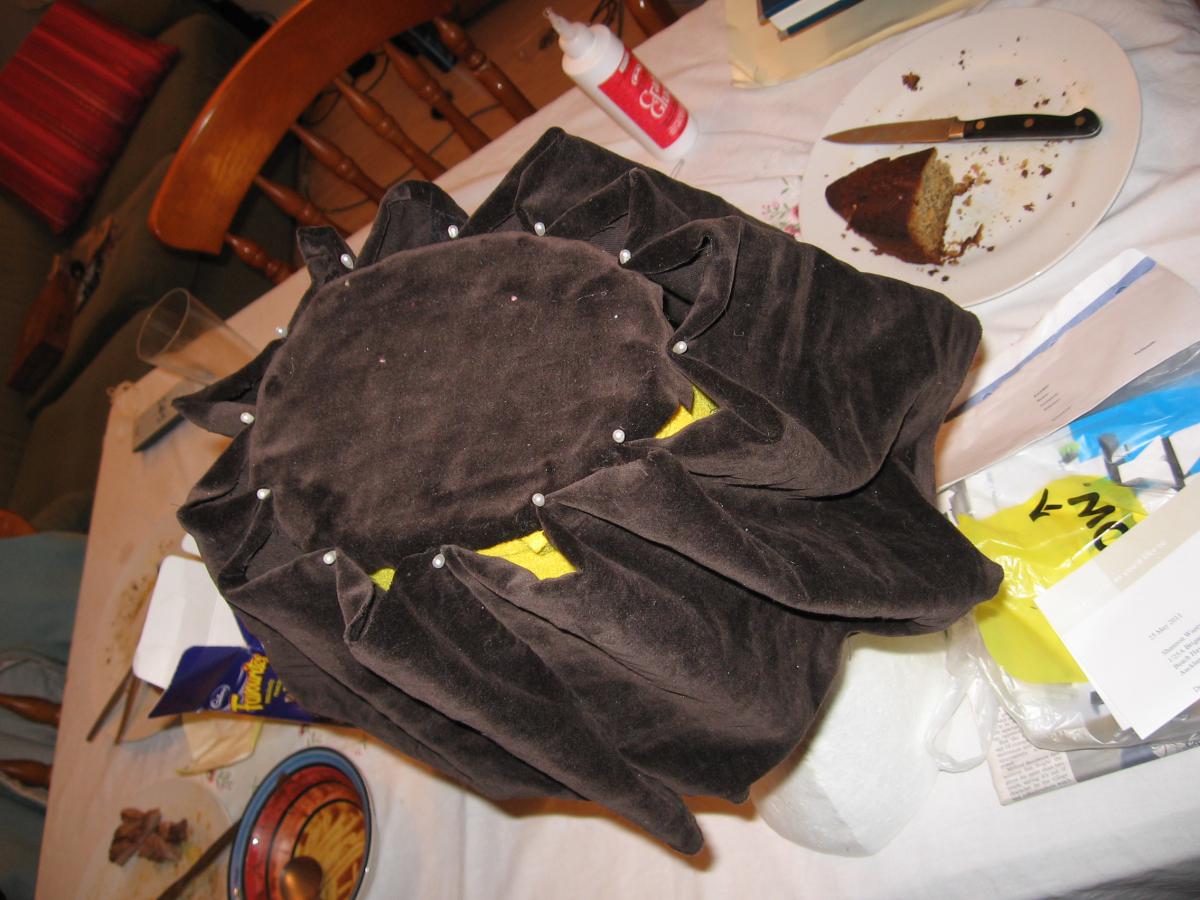
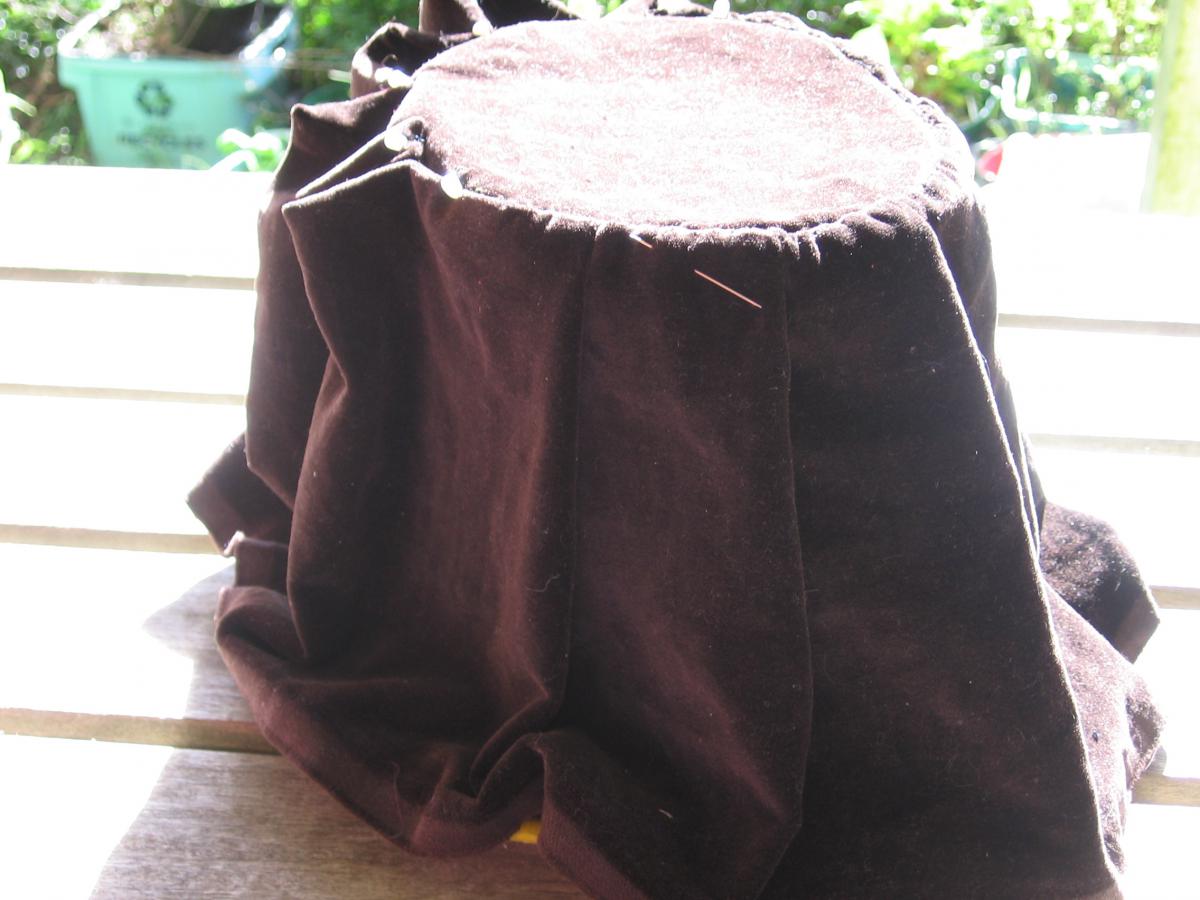
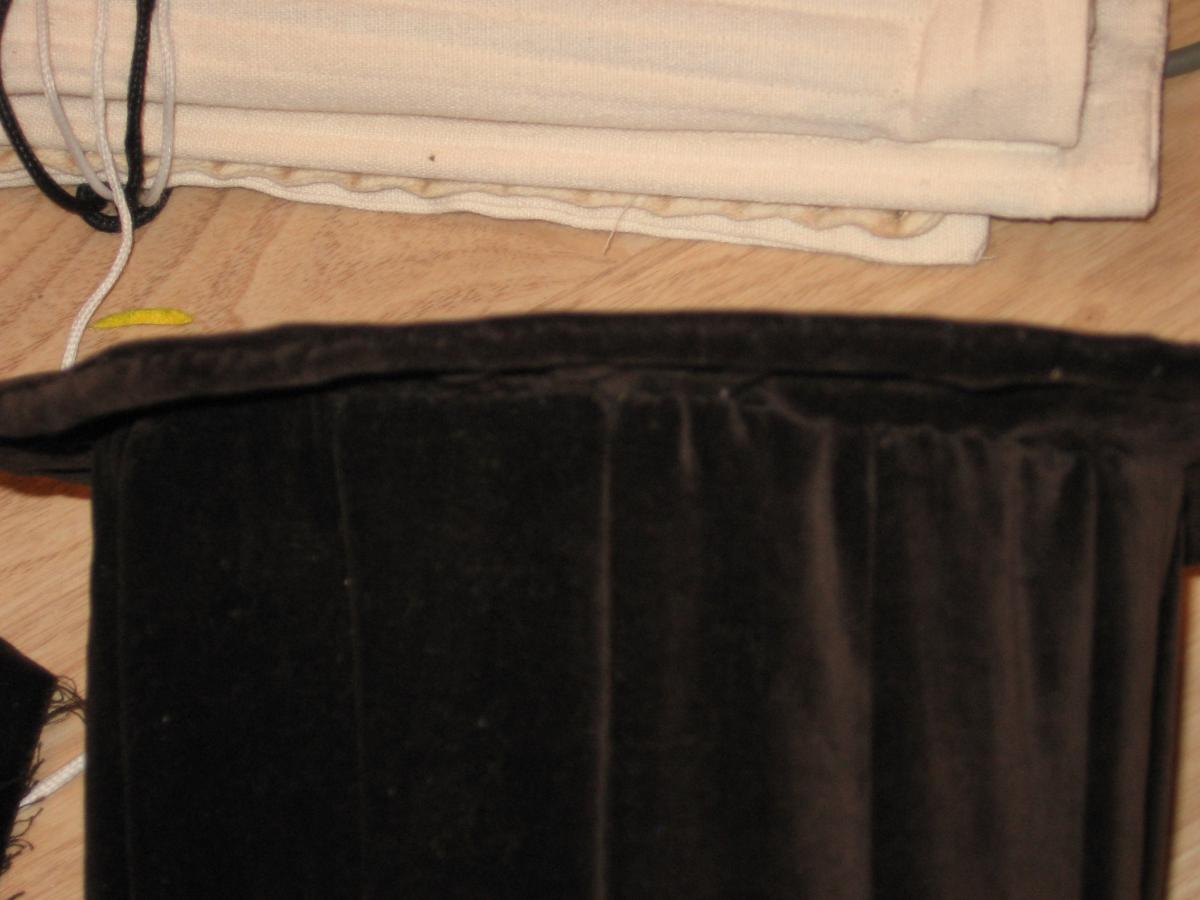
The top edge secure, I did the same thing at the bottom edge where it connected to the hat brim. This took a bit of extra care to get everything neatly lined up and not skew the material horribly, as the pleats of course became narrower at the base, which was wider than the top of the brim. But, with a bit of care the whole thing came out looking quite neat. I dislike having the extra bulk of the separate piece of fabric at the top, however, it's a relatively minor thing and one that I can live with.
To finish, I attached another piece of velvet to the underside of the hat brim, gluing it up into the hat. I then took an extra step, and made a bag lining of lightweight brown wool which I stitched into place to tidy it up. I considered gluing it at the inside top, but decided to leave it loose.
A valuable lesson that I learnt from making this hat was to keep the pins that you've used on a hat like this separate from the normal ones. I now have a small tin of pins specifically for use with such things. It would help if I'd put them in a different kind of tin to the normal ones, or labelled them appropriately, but never mind. The reason? By the time the pins have been poked through cardboard, they're a bit blunt. Add to that the craft glue, masking tape, and stickyback felt that they've gone through, and they're really quite uncooperative when it comes to normal projects. However, they're still perfectly useable for this kind of messy project, so rather than go through new pins each time, saving them for reuse seemed worthwhile.
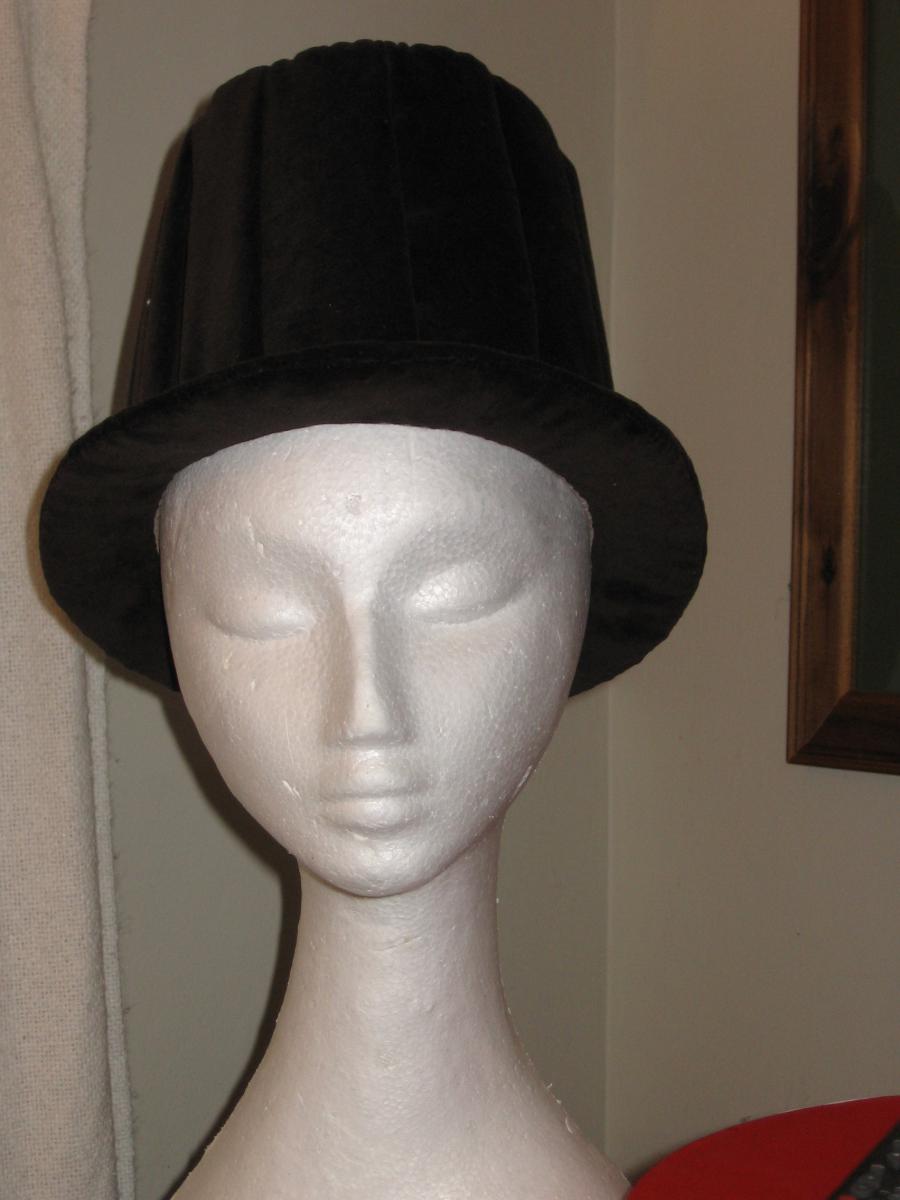
The finished product:
- Log in to post comments
Unless otherwise stated, all work herein is done by Shannon Wanty, known in the SCA as Lady Vettoria Samaritana di Giovanni da Verona, formerly known as Lady Caterine de Vantier.
Got a question or a comment? Email me.

This work is licensed under a Creative Commons Attribution-NonCommercial 3.0 Unported License.